
Magnetic Race Track
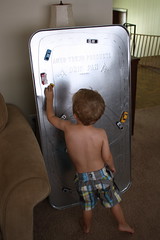
Hi friends! What a great few days we have had talking about food for wee ones! I had no idea it would be such a popular topic. It actually makes me feel so much better because it seems that we all struggle with the same things from time to time. Whew! I have gotten a lot of email, tweets, and FB messages this week asking me specific questions about our feeding/eating routine at our house. I had planned today to do a final food post that answered all those questions and tied up our conversation, but Bean and I made the coolest thing this morning and I just had to share. Food doesn’t usually come second in my world, but today it will because this is pretty awesome!
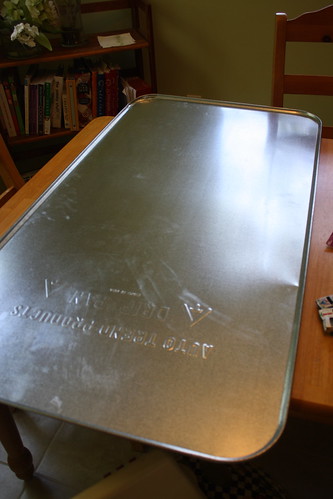
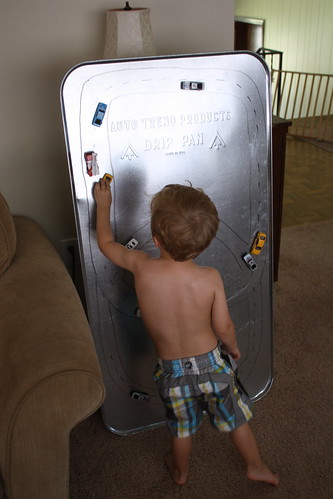
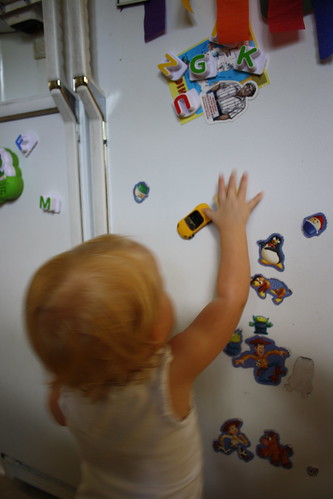
A while back on Pinterest (naturally…), I found this awesome idea for making a large magnetic board out of an oil pan. The woman on this particular blog hung the oil pan on a wall in her kitchen for her kids to play with magnets on since they didn’t have a magnetic fridge. I thought that was brilliant! Then, last night I found this awesome pin of these toy dinosaur magnets. My mind started reeling at all the things we could magnet-ize! Bean had a ton of toy dinosaurs we could use! Figurines! Blocks! But then Chris had this great idea to put magnets on a few of Bean’s matchbox cars for the kids to play with on the fridge. What a cute idea! And while I was at it, why not combine those two awesome ideas into one totally sweet MAGNETIC RACE TRACK?!?!?!
(Do you hear that chorus of angels singing, too? Or is that just Bean?)
Here’s what you need:
A large oil pan from Walmart. I found this in the automotive section near the oil. My Walmart had them for $10.39. Be prepared for, like, 300 men in the automotive section to try to help you, or to think you are lost. Just politely tell them, no, thank you. You know what you’re doing (even if you don’t…) and then keep looking for the Oil section of the department.
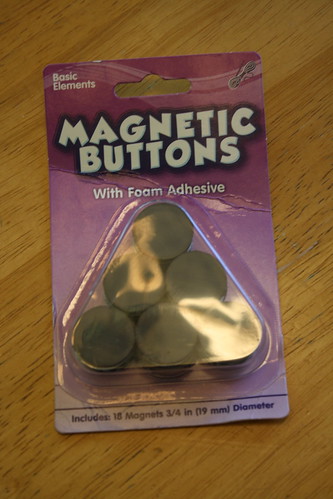
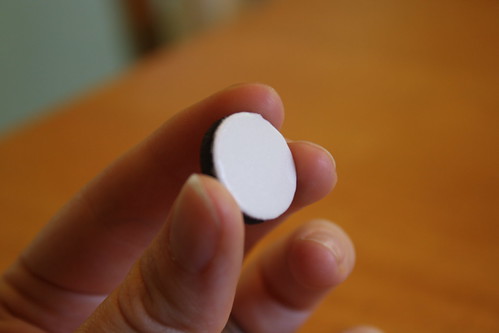
You’ll also need a pack of round magnets. I found these at Walmart, too, in the crafting section. If you can find the ones with the adhesive backs, you’ll save yourself a LOT of effort. If you can’t find those, just get regular magnets and use a glue gun to attach them to the cars. This pack of 18 adhesive magnets was $1.97.
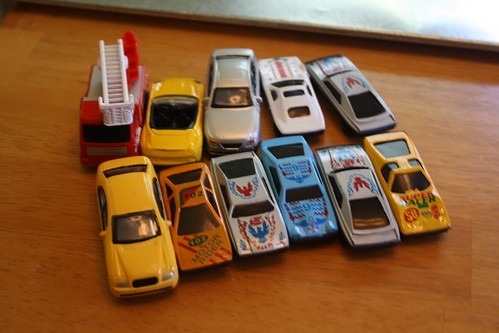
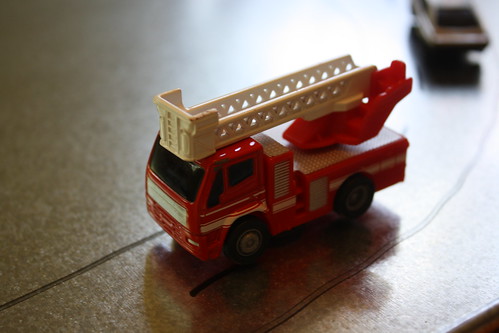
Lastly, you’ll need a handful of matchbox cars. I used the smaller, plastic ones that always fall to the bottom of Bean’s toy box. I didn’t want anything too heavy because I was afraid my magnets wouldn’t be strong enough.
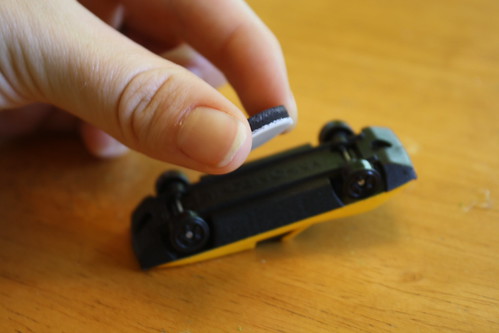
The first step – well, really the ONLY step – is to put the magnet on the bottoms of the cars. Super easy.
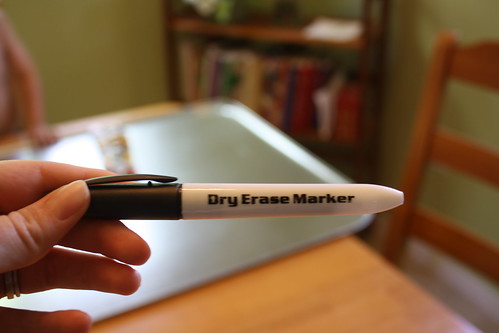
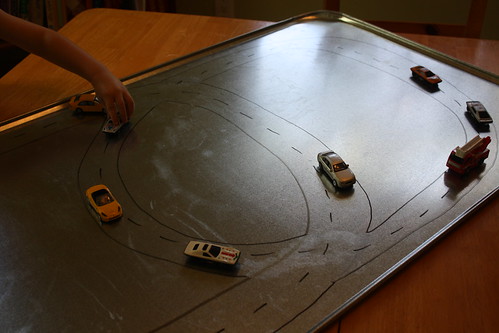
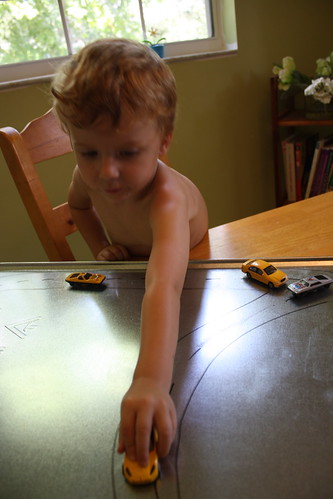
And that’s pretty much it! If you want to get extra crafty, you can get a dry erase marker and draw a little race car track for the cars. I’m not a very good drawer, but I managed a simple little track pretty well. The good news is that dry erase markers are on sale right now for pretty cheap. I picked up a couple packs at Walmart for $1.50 each.
The track was a huge hit with Bean and Gracie. Bean was a little concerned because the cars couldn’t “race” since they were stuck to the track, but as soon as I tipped the tray up and showed him that the cars would stay in place, he thought I was Willy Wonka.
As a bonus, the little race car magnets look adorable on your fridge when they aren’t being used on the track!
This was super easy to make, and a huge success with my kids. I think I’m going to get another pack of magnets when I’m out and put them on a few of the houses and trees from Bean’s wooden train set. Then, he can create a town that won’t move while he runs his cars and trains all over the board. So many options!!! I can’t wait!!!



7 Comments
Laura @ Casa del Hansen
And to think you always tell us you don’t have a crafty bone in your body (lies, lies all of them!). This is an AWESOME idea – so cool! I can tell because I want to make one for myself — why do the kiddos get all the fun? ;o)
Michelle @ Letters from Boston
Genius!! Pinterest pays off 🙂
Melissa W.
Awesome idea Katie!! I soo can’t wait to try it myself!!!
Jen @ Ginger Guide
We have the oil pan as well for Sully to use for his magnetic animals but I love the car idea!
Calypso
Well done momma!!
Jenn
Be super careful to make sure the magnets are secure and cannot be swallowed. Two magnets being swallowed can be deadly and cause incredible damage in the digestive track.
Nikki
I love this idea! I have taken a bit of a break from Pinterest, but I think I need to get back on and check out some crafts!